Python Machine Learning Mini-Course
Machine learning platforms based on Python are among the fastest-growing.

It takes you 14 days to learn how to begin using Python to build accurate predictive models and confidently complete machine learning projects.
There is a lot of important information in this post. Bookmark it if you find it useful.
Who Is This Mini-Course For?
You’re on the right page, so let’s get started.
Listed below are some general guidelines regarding who should take this course.
The points may not correspond exactly to your experience, so don’t worry if you need to brush up in one area or another.
Developers that know how to write a little code. Once you know the basic syntax of a programming language like Python, picking up a new one won’t be a big deal. You are not a wizard programmer, just capable of following a simple C-like language.
Developers that know a little machine learning. Therefore, you understand cross-validation, some algorithms, and the bias-variance trade-off in machine learning. Just knowing the landmarks, or knowing where to find them, does not mean you are a machine learning Ph.D.
Neither Python nor machine learning are the focus of this mini-course.
With this course, you will go from being a developer who knows a little machine learning to a developer who can use the Python ecosystem, the rising platform for professional machine learning.
Python and SciPy can be downloaded and installed
Once you have access to the Python platform, you can start working on machine learning.
We will use Python 3.6 today, so you must download and install it on your computer.
Visit the Python homepage and choose your operating system (Linux, OS X, or Windows) and download Python. You will need to install Python on your computer. If you are running RedHat Linux or OS X, you may need to use a platform-specific package manager such as macports or yum.
Additionally, you must install the SciPy platform and this library is based on scikit-learn. As with Python installation, I recommend following the same steps.
A single installation is possible (much easier) with Anaconda. Beginners should consider this book.
At the command line, type “python” to start Python for the first time.
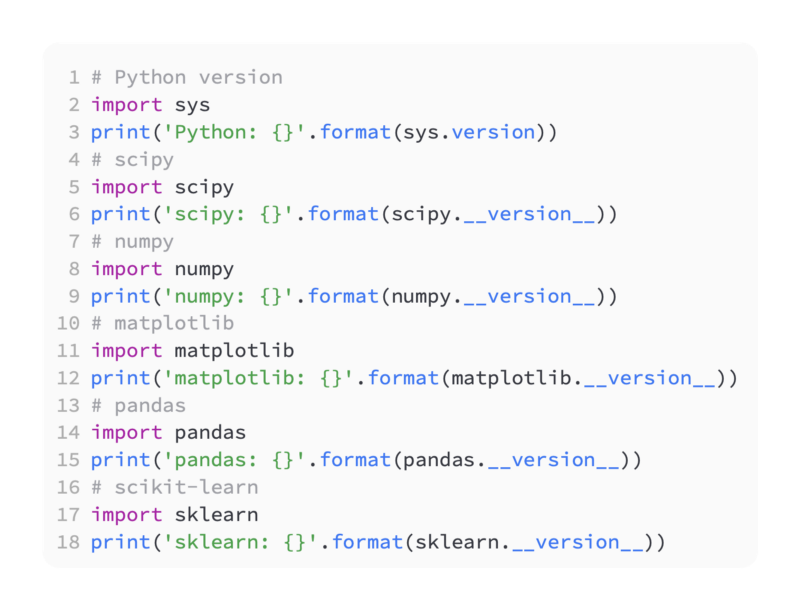
Using the code below, you can check the versions of everything you need:
Learn Python, NumPy, Matplotlib, and Pandas.
It is necessary for you to be able to read and write basic Python scripts.
It is pretty easy for developers to pick up new programming languages pretty quickly. Code blocks in Python are indicated by whitespace (whitespace matters), a hash (#) for comments, and a hash (#) for comments (python is case-sensitive).
In the Python interactive environment, we will practice the basic syntax of the Python programming language and important SciPy data structures.
Practicing Python lists, flow control, and assignments.
Working with NumPy arrays is a good practice.
Matplotlib can be used to create simple plots.
Working with Pandas Series and DataFrames is a good practice exercise.
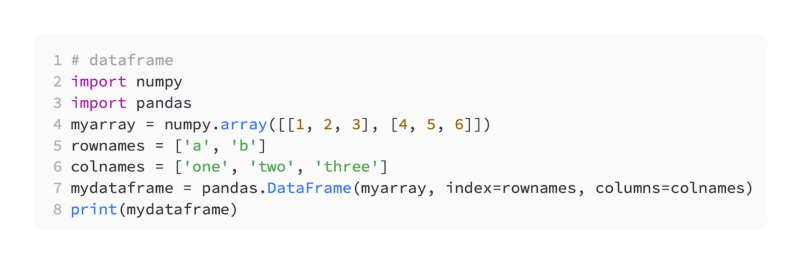
The example below demonstrates how you can create a Pandas DataFrame.
Load Data From CSV
There is a need for data in machine learning algorithms. As you get started with machine learning in Python, you should practice on standard datasets rather than loading your own data from CSV files.
This lesson will help you get comfortable loading data into Python and finding and loading standard machine learning datasets.
Download and practice with many excellent standard machine learning datasets in CSV format on the UCI machine learning repository.
Practice loading CSV files into Python using the CSV.reader() in the standard library.
Practice loading CSV files using NumPy and the numpy.loadtxt() function.
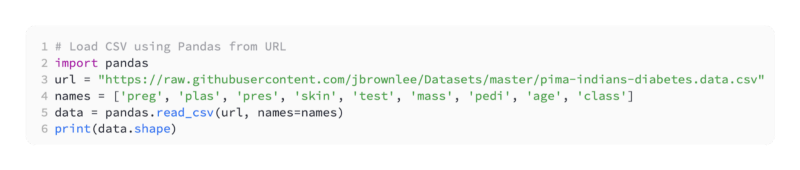
Practice loading CSV files using Pandas and the pandas.read_csv() function.
A Python snippet is provided below to load the Pima Indians onset of diabetes dataset directly from the UCI Machine Learning Repository.
Congratulations on getting this far! Keep going.
Using descriptive statistics, you can better understand your data
You must be able to interpret the data once it has been loaded into Python.
You will be able to build better and more accurate models if you have a better understanding of your data. Descriptive statistics are the first step towards understanding your data.
This lesson will teach you how to analyze your data using descriptive statistics. For Pandas DataFrames, I recommend using the helper functions.
Take a look at the first few rows of your data using the head() function.
Using the shape() property, check your data’s dimensions.
With the dtypes property, you can see the data types for each attribute.
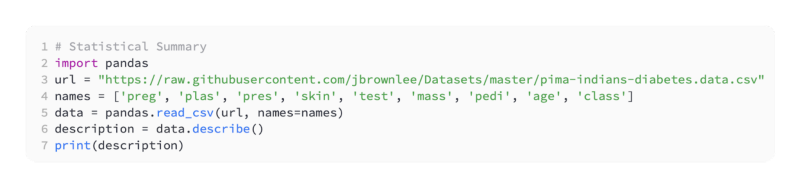
Using the describe() function, you can examine the distribution of your data.
The corr() function can be used to calculate pairwise correlations between variables.
Using the dataset below, the distribution of each attribute is summarized for Pima Indians with onset of diabetes.
Visualize data to understand it
As we discussed yesterday, you should take the time to understand your data better.
Data visualization techniques (e.g. plotting) can also help you better understand your data.
Your lesson today will focus on the use of Python plotting to understand attributes alone and how they interact. It is again recommended that you use the helper functions provided by the Pandas DataFrame.
Create a histogram for each attribute by using the hist() function.
Each attribute can be plotted as a box-and-whisker plot using the plot(kind=’box’) function.
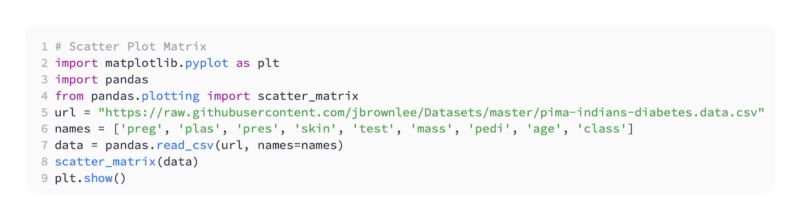
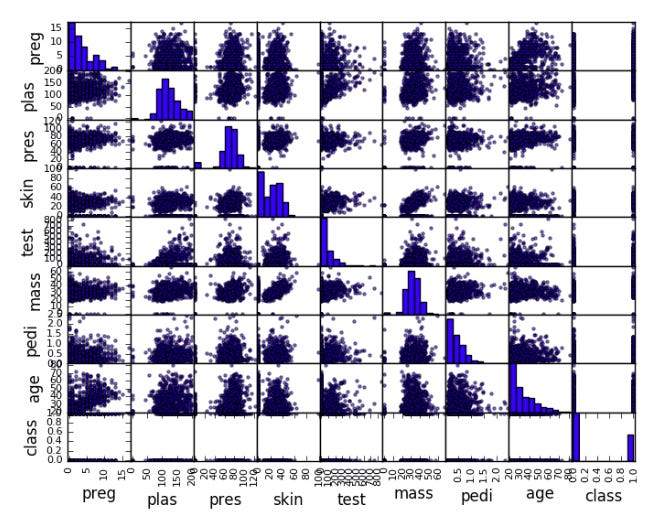
All attributes can be represented as pairwise scatterplots with the pandas.scatter_matrix() function.
The code below, for example, loads the diabetes dataset and creates a scatterplot matrix.